Python Programming Basics
In this section, we introduce the core syntax and fundamental usage of the Python language. Programming is a highly practical skill: you can start learning from anywhere, but you must write code yourself to truly master it. First, we need to answer a fundamental question: where do we write our code?
There are several options. Beginners on the planet Pythora usually start with free, third-party online development environments. Once they have a basic understanding of Python and are ready for more in-depth learning, they install professional development environments on their local machines.
Third-Party Online Development Environments
Traditionally, writing, running, and testing code required installing specific tools on your local machine. Today, however, you can use online Integrated Development Environments (IDEs) directly in your browser. This removes the need for any local installation—just open a webpage and start coding. As one of the most popular programming languages, Python has many web-based IDEs designed specifically for it. Below, we introduce how to use these online platforms.
If you do not have a preferred online IDE yet, a quick Google search for "online Python IDE" will reveal plenty of free options. At the time of writing, the top search results included:
-
Other commonly used online IDEs include Replit, Programiz, etc.
The page of a typical online programming environment looks like this:
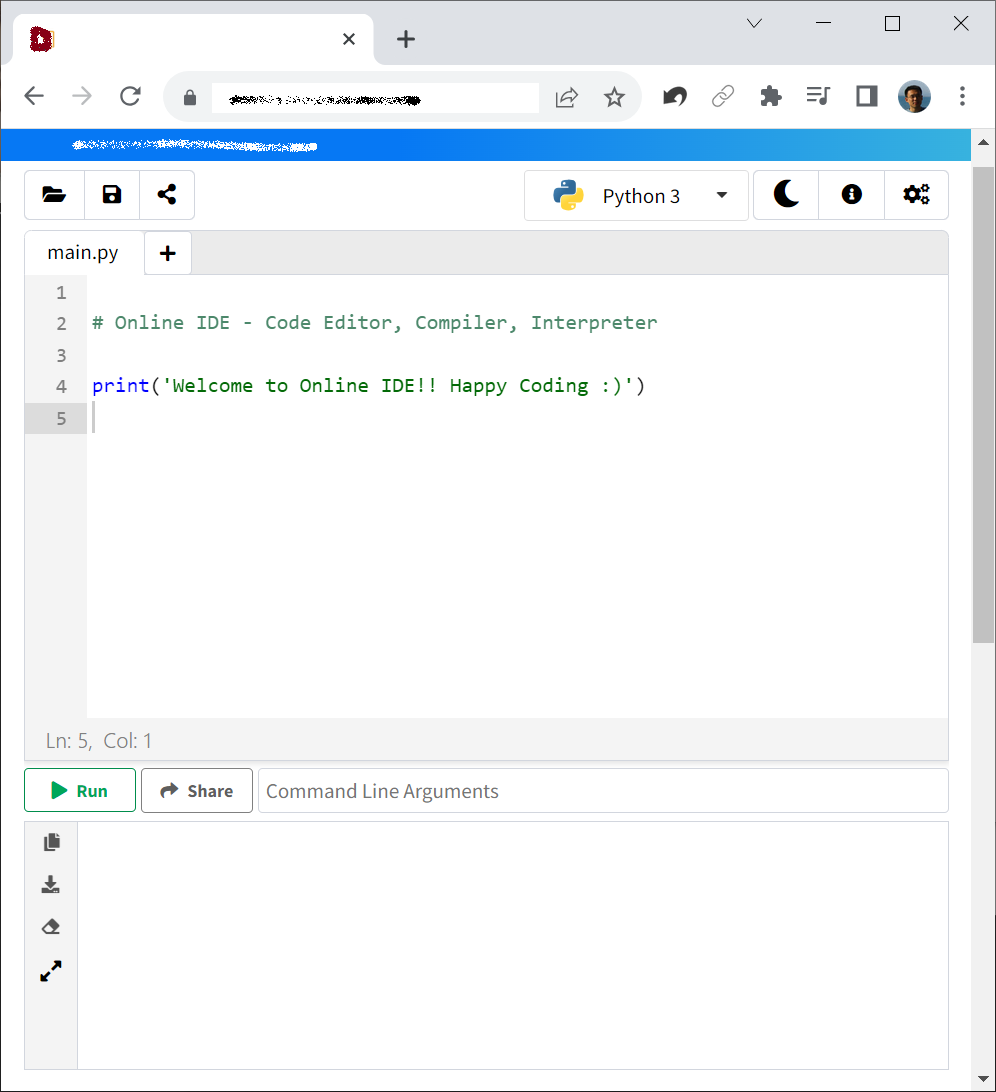
The main area is a text editor where you write your program. Online IDEs typically feature a "Run" or "Execute" button that runs your code on a remote server and displays the output. The bottom half of the interface displays the program's running status, output, and execution logs.
More advanced platforms allow you to create an account to store your projects and share code links with others. Keep in mind that unregistered users will lose their progress when they close the browser tab, so you must download your files to save them. Currently, the most widely used Python online environment is Google Colab, where many open-source data science projects are built and shared.
While the platforms mentioned above run code on their servers, another lightweight category runs Python directly inside your browser. For example, you can try these in-browser environments built on Pyodide or Brython. These are incredibly convenient for quick experiments. They work by compiling Python into JavaScript, which web browsers can execute natively.
While in-browser interpreters are easy to embed and use, they generally support only basic Python features. Additionally, their behavior might occasionally differ from CPython (the standard Python interpreter written in C). Therefore, we recommend using server-backed online IDEs or a local installation for systematic learning.
Installing the Python Interpreter
Once online environments no longer suffice, it is time to install Python locally.
You have two primary options: the official standard distribution or Conda.
- Official Standard Version: Downloaded from the official Python website, this is a lightweight installation perfect for learning core syntax.
- Conda Distribution (Recommended): If you plan to dive into data analysis, machine learning, or need to manage multiple projects with different Python versions, Conda is the best choice. Because Conda comes bundled with its own Python interpreter, installing it means you do not need to install the official package separately.
Developers often face conflicting project requirements. For instance, an older codebase might require Python 3.9, while a newer one needs Python 3.12; or one project depends on PyTorch 1.x while another requires PyTorch 2.x. Managing these dependencies globally is a recipe for frustration. Conda solves this by creating isolated "parallel universes"—known as virtual environments—for each project.
Managing Environments with Conda
The two most popular Conda distributions are Miniconda (a lightweight version containing only the core tools) and Anaconda (a comprehensive suite pre-packaged with scientific computing and data science libraries). We recommend beginners start with Anaconda to save the hassle of installing common libraries later.
Once installed, open your terminal (Anaconda Prompt on Windows). You will see a (base) prefix in the command prompt, indicating you are in the default environment.
To avoid conflicts with other applications, let's create a new virtual environment named game with Python 3.9:
(base) qizhen@deep:~$ conda create --name game python=3.9
Use the conda env list command to view all virtual environments and their installation paths. Make a note of this path, as you will need it when configuring your IDE.
(base) qizhen@deep:~$ conda env list
# conda environments:
#
base                  * /home/qizhen/anaconda3
game                     /home/qizhen/anaconda3/envs/game
To activate and enter this new environment, run:
(base) qizhen@deep:~$ conda activate game
(game) qizhen@deep:~$
The command prompt changes to (game). Any libraries you install now will remain isolated within this environment, without affecting the base environment or other projects.
Professional Local IDEs
The standard Python interpreter only provides a bare-bones command-line interface. Running the python command launches an interactive session where you can execute code line by line:
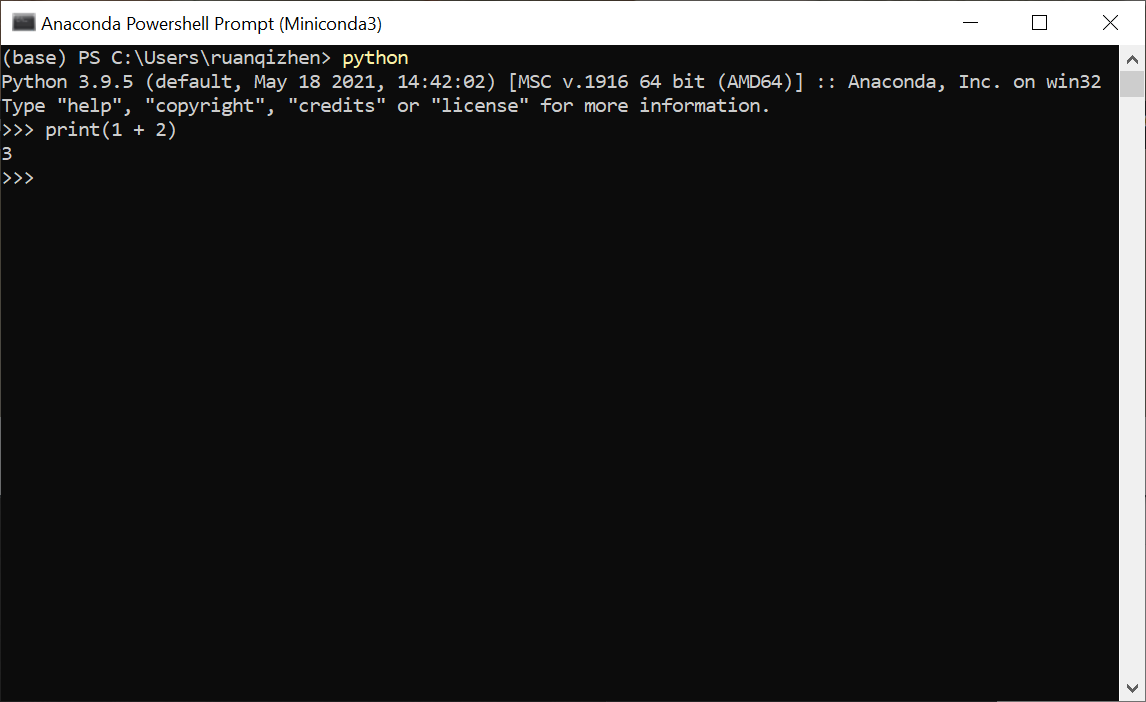
This is not the most comfortable environment for writing large projects. A better approach is to write code in a text editor (such as Notepad++) and run the file using the python command. Modern development, however, relies on IDEs (Integrated Development Environments) that offer advanced coding features. The two most popular free IDEs for Python are Visual Studio Code (VS Code) and PyCharm. If you work with multiple programming languages, VS Code is an excellent choice. If you only write Python, PyCharm is highly recommended.
Visual Studio Code (VS Code)
VS Code is a lightweight, highly customizable code editor. You can download it from the official website. To enable Python support, open the Extensions tab on the left sidebar (or press Ctrl+Shift+X), search for "Python", and install the official Microsoft extension. This unlocks essential features like syntax highlighting, auto-completion (IntelliSense), code formatting, debugging, and linting.
The image below shows a Python program opened in VS Code:
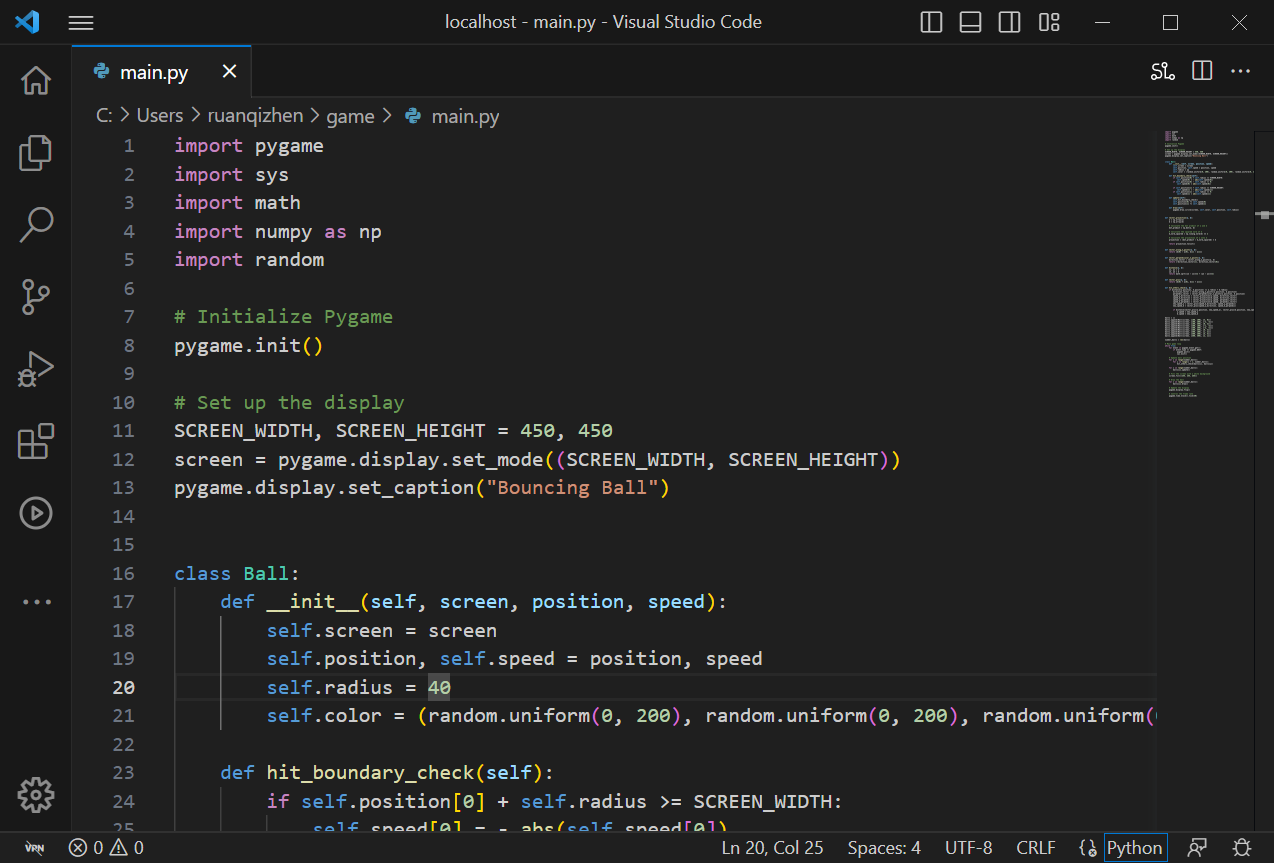
When you open a Python file, you can select your target Python interpreter in the status bar (bottom-right) or editor corner. Click it and select the path pointing to your project's Conda environment.
As you type, the extension provides smart completions, syntax checking, and parameter hints.
To run your code, click the green Play/Run button in the top-right corner of the editor, or right-click and select "Run Python File in Terminal".
VS Code also supports debugging, version control, and virtual environments. The rich plugin ecosystem offers tools like Python Test Explorer to run and debug unit tests easily.
PyCharm
PyCharm, developed by JetBrains, is a dedicated, fully featured IDE designed specifically for Python. It integrates smart code completion, debugging, testing frameworks, and version control tools out of the box.
Download PyCharm from the official JetBrains website. It is available in two editions: Professional (paid) and Community (free). The free Community edition is more than sufficient for learning.
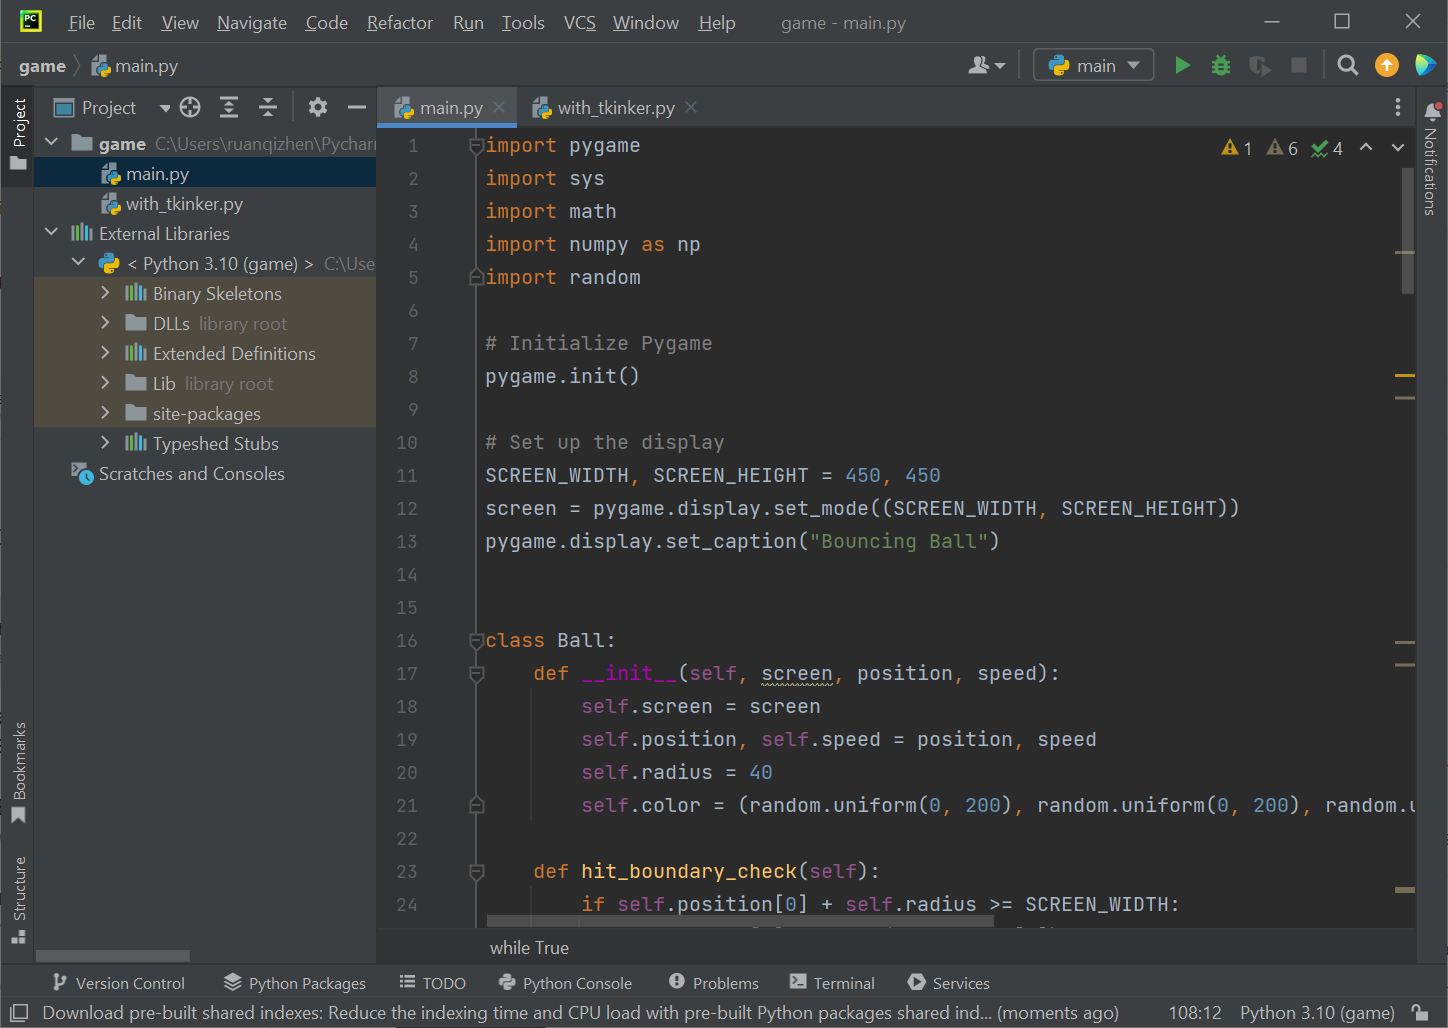
In PyCharm, you organize your code into projects, each configured with its own virtual environment and interpreter path. It provides a highly polished developer experience with robust linting and project management.
The image below shows the same program opened in PyCharm:
Web-Based Programming Environments
While traditional IDEs are standalone applications, web-based environments have become widely popular. Jupyter Notebook and its modern upgrade, JupyterLab, are prime examples. (Google Colab is also built on this technology.)
Jupyter Notebook is an open-source web application that lets you create and share documents containing live code, equations, visualizations, and narrative text. It offers several unique advantages:
- Interactive Execution: Code is split into "cells" that can be run independently, showing outputs and charts instantly. This is extremely useful for step-by-step data analysis.
- Rich Text Support: You can write formatted text using Markdown and render complex equations with LaTeX, combining documentation and code into a single notebook.
- Seamless Sharing: Notebooks can be exported as PDFs, HTML files, or slide shows, making it straightforward to share reports and research.
- Multi-Language Support: Beyond Python, Jupyter supports dozens of other programming languages (like R and Julia) through its pluggable kernel system.
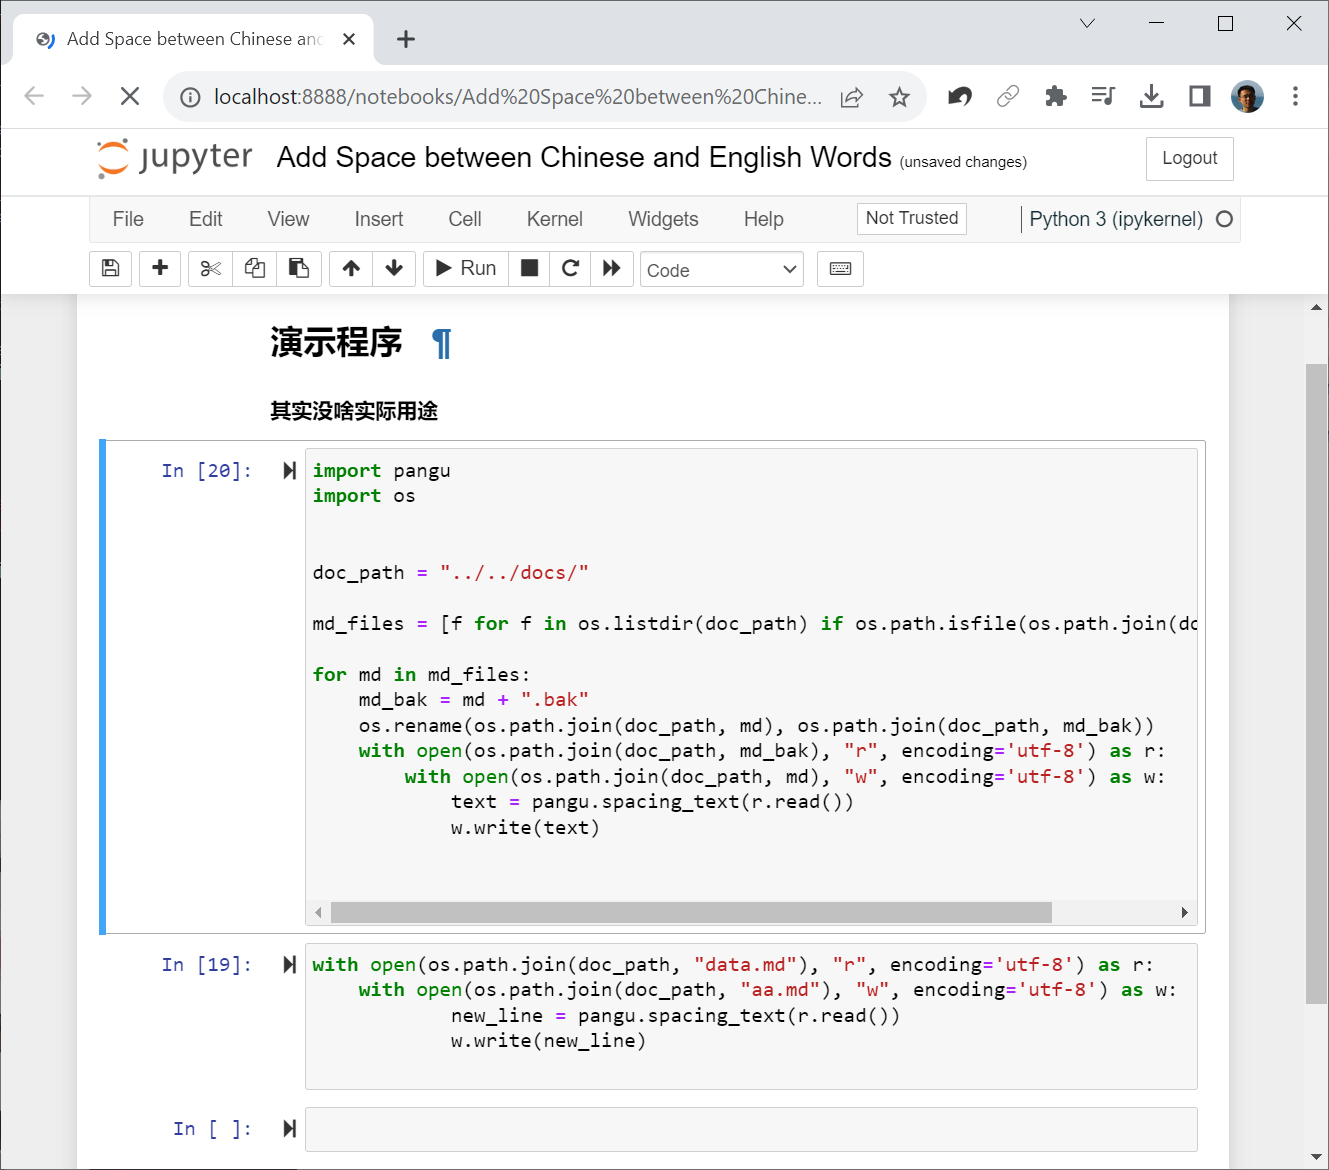
Jupyter Notebook is especially popular among data scientists, researchers, and academics. The image below shows a program opened in Jupyter Notebook:
Installation and Usage:
If you installed Anaconda, Jupyter is already pre-installed. If you are using standard Python, install it via your terminal:
pip install jupyterlab
Launch the notebook server by running:
jupyter lab
This will automatically open the Jupyter dashboard in your browser. If it doesn't open, navigate to http://localhost:8888/ in your web browser.
From the dashboard, create a new notebook file (with Python 3 as the kernel). Inside a notebook cell, type your code and press Shift+Enter to run it. Use the + button in the toolbar to add a new cell. You can change any cell's type to "Markdown" to write text notes. Save your work with Ctrl+S. To exit the environment, close the browser tab and press Ctrl+C in your terminal to stop the local server.
Jupyter notebooks are saved with a .ipynb extension because they store code, outputs, and rich text layout together in JSON format. You can export the notebook as a standard .py script via the File menu.
In Pythora, developers match their environment to their tasks: online playgrounds are used for quick tests, VS Code is the choice for lightweight scripting and web apps, PyCharm is preferred for large-scale applications, and Jupyter Notebooks are the standard for data science and analysis.